Kitchen Counter Organization
This article was created in line with Trends Oraa’s research and content standards.
Most people don’t realize this.
Your counters aren’t cluttered because you own too much stuff.
They’re cluttered because nothing has a home.
That’s the real problem behind every “why does my kitchen always look messy” moment. You wipe it down, it looks great for an hour, and by dinner it’s chaos again. The good news? Kitchen counter organization isn’t about buying more bins or doing a dramatic decluttering weekend. It’s about a handful of small, smart shifts that keep your counters clear without constant effort.
I’ve tested a lot of these ideas in my own kitchen (some flopped, some completely changed how my mornings feel), and I’m sharing the ones that actually hold up in real life — not just in a styled photo.
You might also love our guide on kitchen pantry organization if your clutter problem starts before it even hits the counter.
Ready? Let’s get into the 10 ideas that make the biggest difference.
Why Kitchen Counter Organization Matters More Than You Think
Here’s where it gets interesting.
Your counters are the most-used surface in your entire home. You touch them dozens of times a day — prepping food, setting down mail, charging your phone, unloading groceries.
When that surface is chaotic, your brain registers it as unfinished work, even when you’re just trying to make coffee.
That’s not just a decorating opinion. It’s a well-documented idea in environmental psychology: visual clutter competes for your attention and quietly raises stress levels, even when you’re not consciously looking at it.
So this isn’t really about aesthetics. It’s about giving yourself one calm surface in a busy home.
Which of these ideas would work best in your home? Keep that question in mind as you read, because idea #4 might surprise you.
Idea #1: The Zone Method — Give Every Task Its Own Counter Space
What You’re Seeing
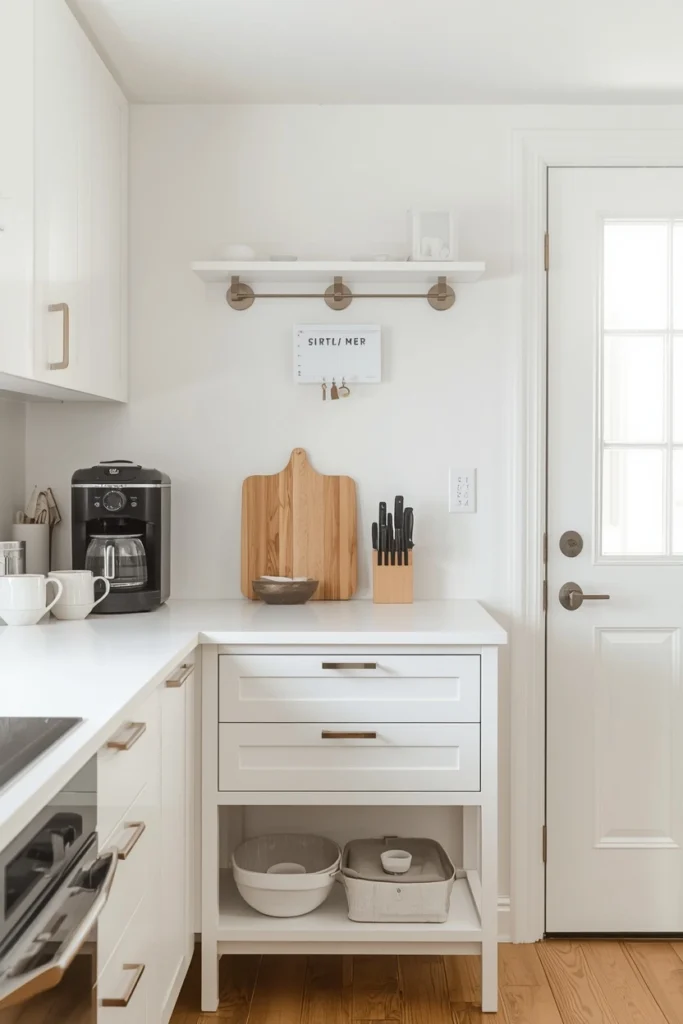
Picture a counter divided into three invisible sections: a coffee zone with a machine, mugs, and a small tray of sweeteners; a prep zone with just a cutting board and knife block; and a landing zone near the door for keys, mail, and bags.
Nothing overlaps. Each area has a clear job.
Design Breakdown
The zone method is borrowed straight from professional kitchen design. Chefs don’t scatter tools randomly — every station has a purpose, and everything within that station supports one task.
At home, this means grouping items by function instead of by category. Coffee gear stays together near the outlet you actually use. Baking tools cluster near your mixer. Everyday dishes stay near the cabinet you unload them into.
Expert Tip
Walk through your morning routine step by step and place items exactly where your hands land first. If you reach for the coffee filter before the mug, the filter goes in front.
Why It Works
Zoning reduces decision fatigue. You’re not hunting for things or improvising a new “system” every week, which is often why organization projects don’t stick.
Best For
- Small spaces
- Families
- Renters
Common Mistake To Avoid
Don’t zone by category (all “kitchen tools” in one spot) — zone by task. A garlic press used only for dinner prep shouldn’t live next to your morning vitamins.
Quick Wins
- Map your 3 most common daily tasks before rearranging anything
- Keep each zone to 3-5 items max
- Use a small tray to visually contain each zone
- Re-evaluate zones every few months as habits shift
Idea #2: Vertical Risers Instead of Flat Clutter
But here’s the important part — most counter clutter isn’t too much stuff, it’s stuff spread out flat instead of stacked smart.
What You’re Seeing
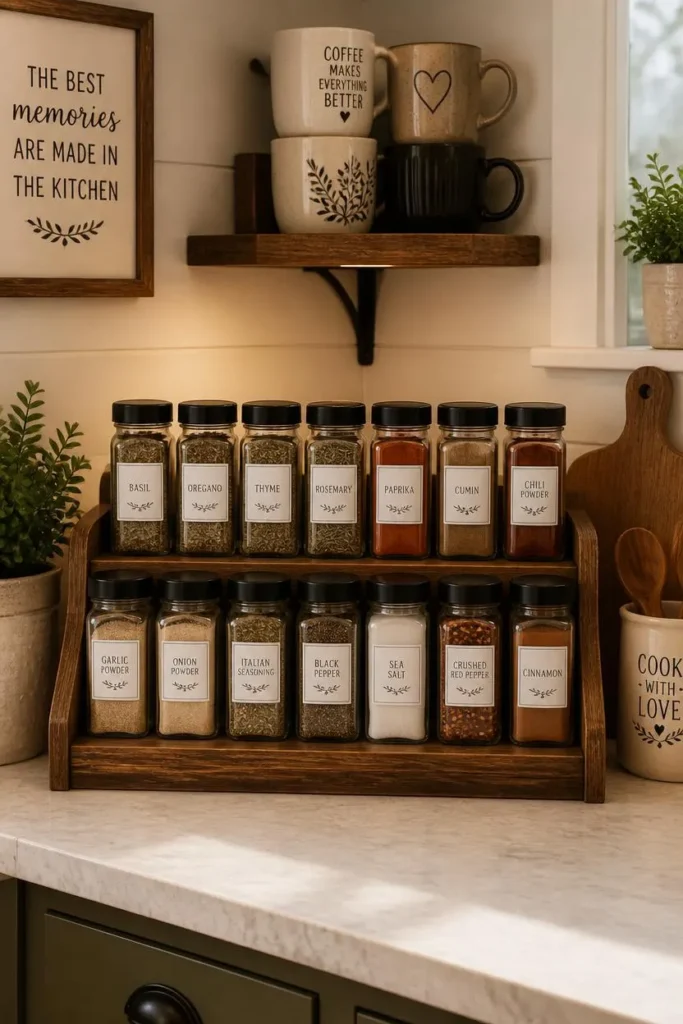
A slim two-tier riser holding spice jars, with a corner shelf above the coffee station lifting mugs off the counter entirely. The counter underneath is nearly empty.
Design Breakdown
Vertical storage reclaims square footage you didn’t know you had. Instead of spice jars marching across your backsplash, a tiered riser stacks them in half the linear space.
This works especially well in galley kitchens or apartments where counter inches are precious. If this sounds like your setup, our galley kitchen ideas guide has more space-stretching tricks.
Expert Tip
Measure your tallest bottle before buying a riser — the biggest mistake is choosing one so short your olive oil bottle doesn’t fit under the shelf above.
Why It Works
Visually, vertical storage tricks the eye into seeing more open counter than actually exists. Practically, it also puts frequently used items at eye level instead of buried behind taller bottles.
Best For
- Small spaces
- Renters
- Budget makeovers
Common Mistake To Avoid
Overloading risers with rarely-used items defeats the purpose. Reserve vertical space for things you touch daily.
Quick Wins
- Add a corner shelf above your coffee maker
- Use a 2-tier riser for spices instead of a flat rack
- Keep vertical storage within arm’s reach
- Skip decorative risers that don’t hold real weight
One thing I’ve learned: the most transformative organization change in my own kitchen wasn’t a product — it was moving my mixer off the counter and onto a pull-out shelf inside a cabinet. It’s the single heaviest, bulkiest item most people leave out “because it’s used often.” But most stand mixers are used a few times a week, not daily. If yours isn’t part of your morning or dinner routine, it doesn’t earn permanent counter real estate.
Most people waste more space than they realize.
Idea #3: The Appliance Garage
What You’re Seeing
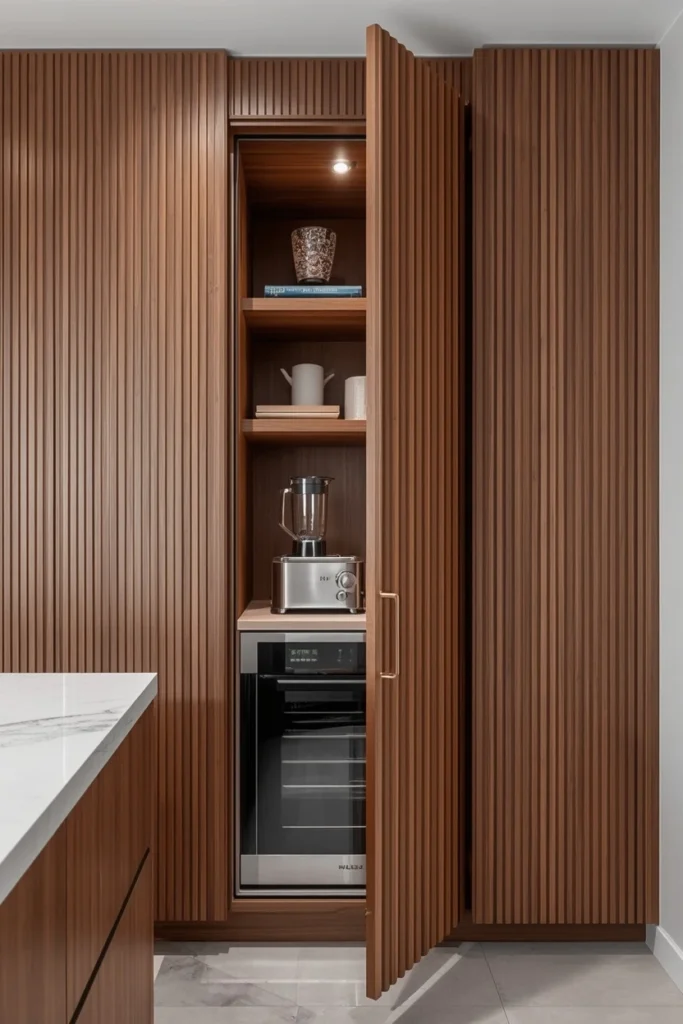
A cabinet-front panel tucked into the corner of the counter, lifting up to reveal a toaster and blender hidden inside, with the same countertop material continuing right over the top.
Design Breakdown
Appliance garages are a classic builder-grade solution that’s making a serious comeback, especially in kitchen remodels where counter space is at a premium. Anything you use often but don’t want visible full-time — toaster, blender, coffee grinder — lives behind a discreet door instead of sitting out permanently.
Expert Tip
If you’re not ready for a built-in garage, a simple tambour-front cabinet insert does the same job for a fraction of the cost.
Why It Works
It solves the tension between convenience and clutter. You keep quick access to daily appliances without sacrificing the calm, clear look of an empty counter.
Imagine walking into your kitchen every morning to a counter that looks like a magazine spread, but your toaster is still one door-lift away.
Best For
- Luxury homes
- Large spaces
- Budget makeovers
Common Mistake To Avoid
Don’t cram an appliance garage so full that opening it becomes a wrestling match — that just moves the clutter problem, it doesn’t solve it.
Quick Wins
- Reserve garages for appliances used at least 3x a week
- Add an outlet inside so appliances stay plugged in
- Choose a door that matches your cabinetry for a seamless look
You May Also Like:
- Kitchen Countertop Ideas
- Modern Farmhouse Kitchen Ideas
- Small Kitchen Ideas
- Kitchen Island Ideas
- DIY Organization Hacks
Don’t skip the next tip — it’s the one most people get completely backwards.
Idea #4: The “One In, One Out” Counter Rule
What You’re Seeing
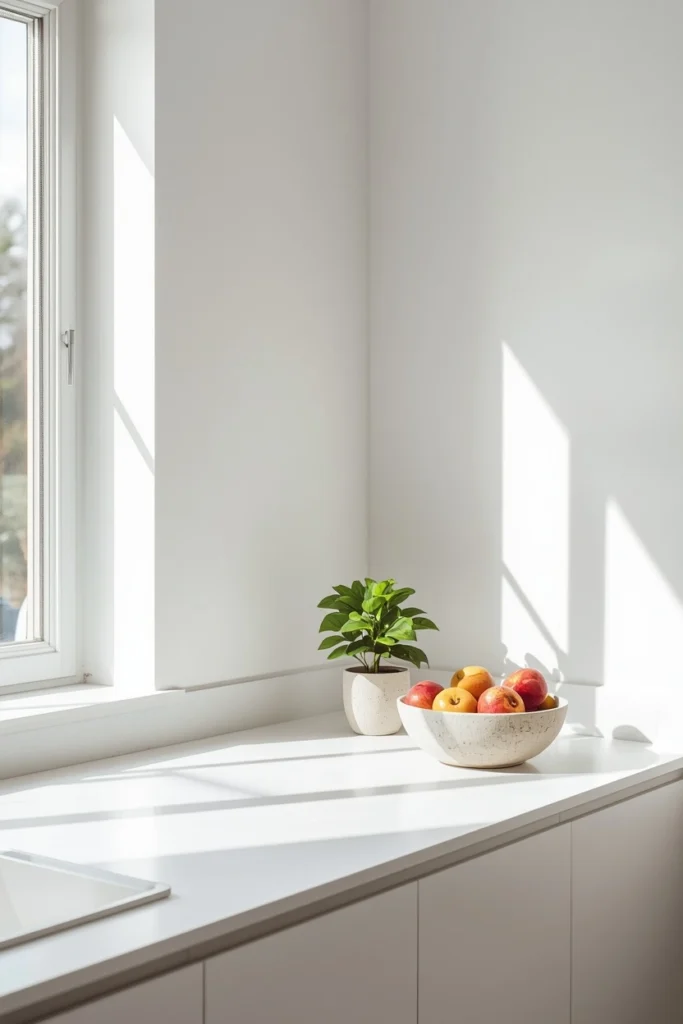
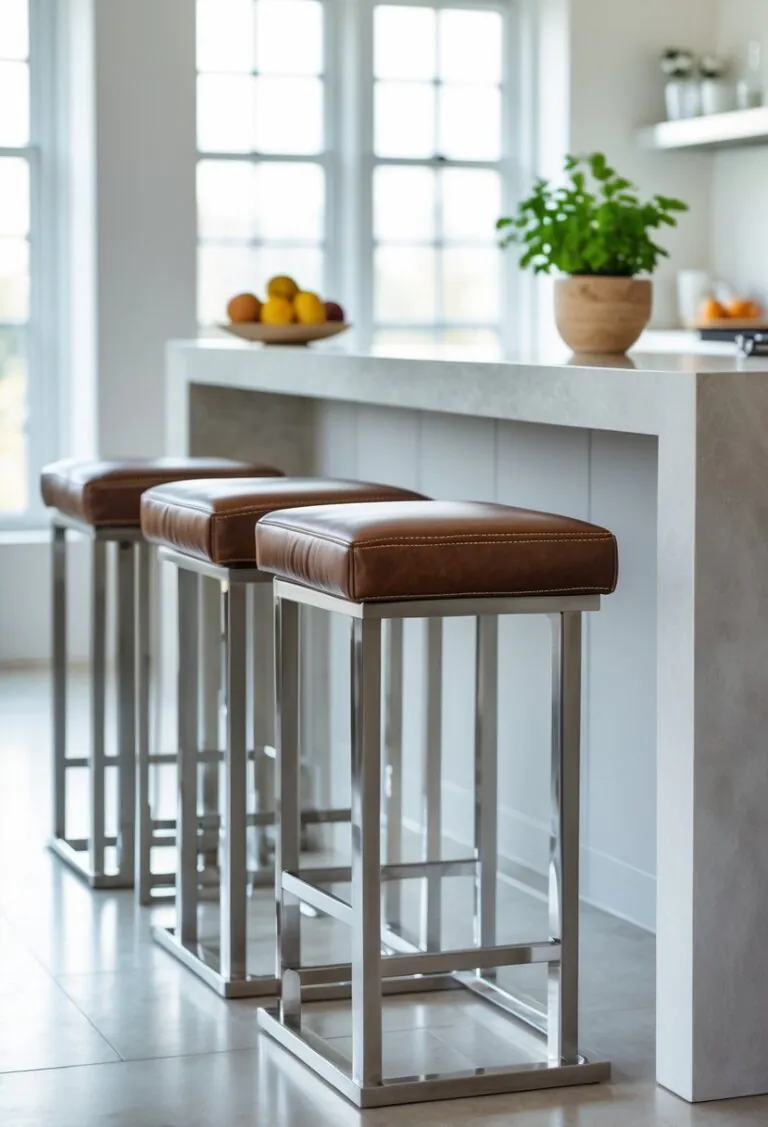
A clean counter edge with just a fruit bowl and a single plant, no mail piles, no random chargers, no “I’ll deal with it later” pile by the toaster.
Design Breakdown
This isn’t a styling trick — it’s a habit. For every new item that lands on your counter, something existing has to leave. Mail gets sorted immediately instead of stacking. A new gadget replaces an old one instead of joining it.
Expert Tip
Keep a small basket just off the counter (a drawer works too) as a 24-hour holding zone for anything you’re not ready to decide about yet. If it’s still there after a day, make the call.
Why It Works
This addresses the psychological root of counter clutter: decision avoidance. Most items don’t pile up because you love them — they pile up because putting them away requires a decision you’re avoiding.
Would you choose function or style here? Honestly, this rule delivers both.
Best For
- Renters
- Families
- Small spaces
Common Mistake To Avoid
Treating this as a one-time cleanup instead of an ongoing habit. The rule only works if it’s daily, not seasonal.
Quick Wins
- Add a designated “decide later” basket near the counter
- Sort mail the moment it enters the house
- Ask “what’s leaving?” before setting something new down
Idea #5: Drawer Dividers That Do the Counter’s Job For It
What You’re Seeing
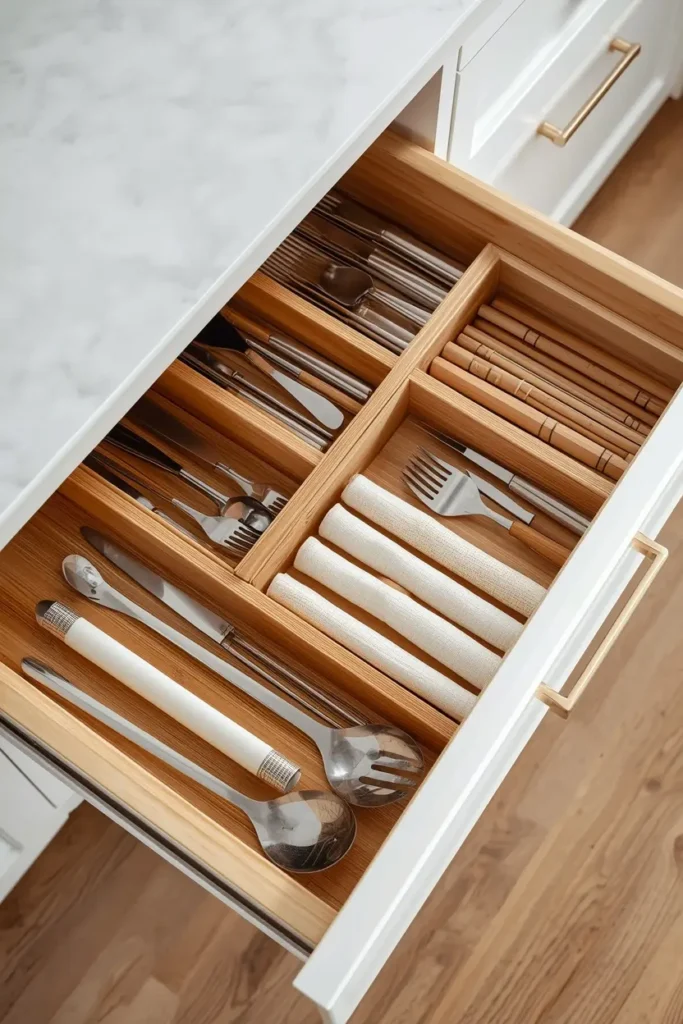
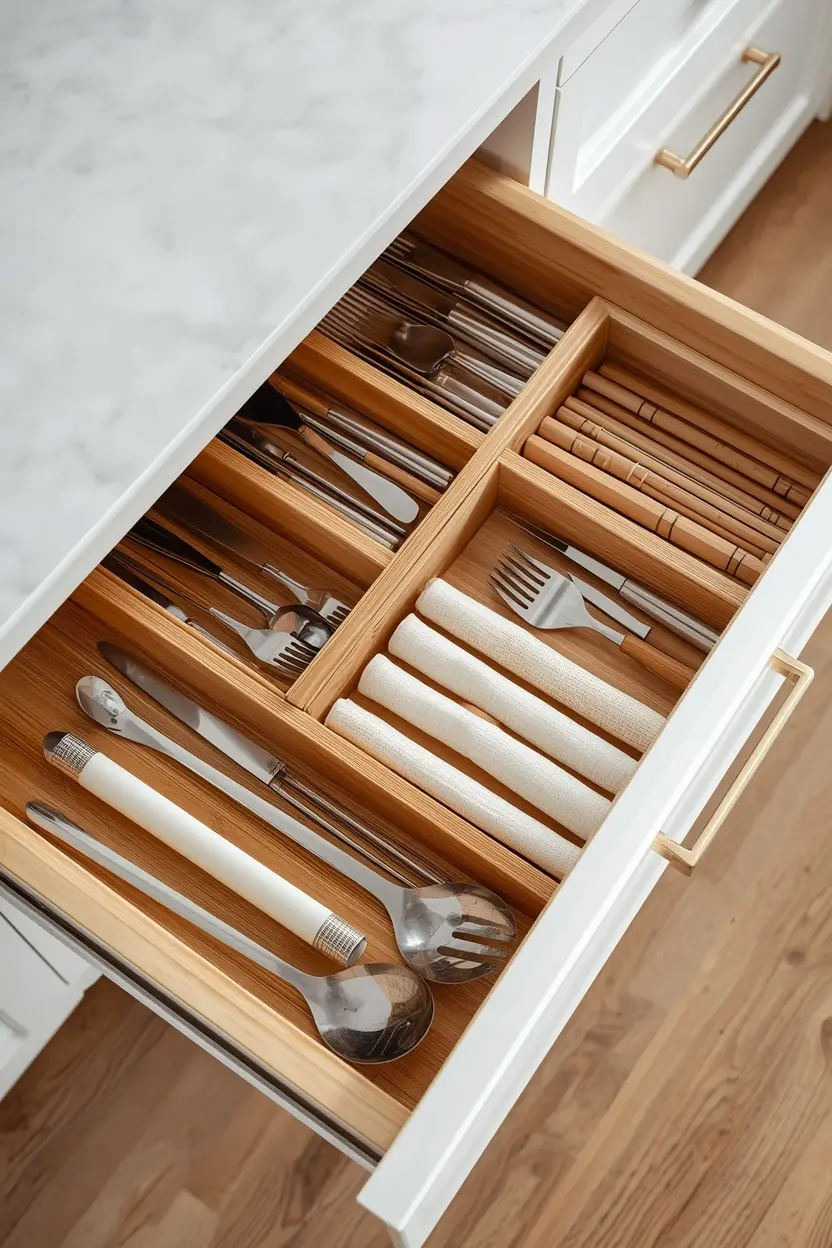
An open drawer beneath the counter revealing neatly separated compartments for utensils, wraps, and small gadgets — all items that used to live loose on the countertop.
Design Breakdown
A shocking amount of counter clutter actually belongs in drawers. Utensil crocks, cutting boards leaned against the backsplash, and loose gadgets are often there simply because the drawer beneath them is too disorganized to use.
Expert Tip
Measure your drawer depth before buying dividers — expandable bamboo dividers are the most forgiving option since they adjust to odd drawer sizes.
Why It Works
This works because it removes the justification for counter clutter. Once there’s a clear, functional home inside a drawer, the “it’s easier to just leave it out” excuse disappears.
Best For
- Small spaces
- Renters
- Budget makeovers
Common Mistake To Avoid
Buying dividers before decluttering the drawer first — you’ll just organize duplicates and expired gadgets instead of solving the real problem.
Quick Wins
- Empty the drawer completely before adding dividers
- Group by function, not by size
- Move at least 3 counter items into the newly organized drawer
Here’s where it gets interesting: the utensil crock is one of the biggest counter offenders, and almost nobody questions it. Most households only regularly use 6-8 utensils, yet crocks often hold 20+. Pull yours out, count what you’ve actually reached for in the last month, and you’ll likely cut it in half. That alone can free up more visual space than any bin or basket.
The next idea is one designers secretly love.
Idea #6: The Floating Shelf Swap
What You’re Seeing
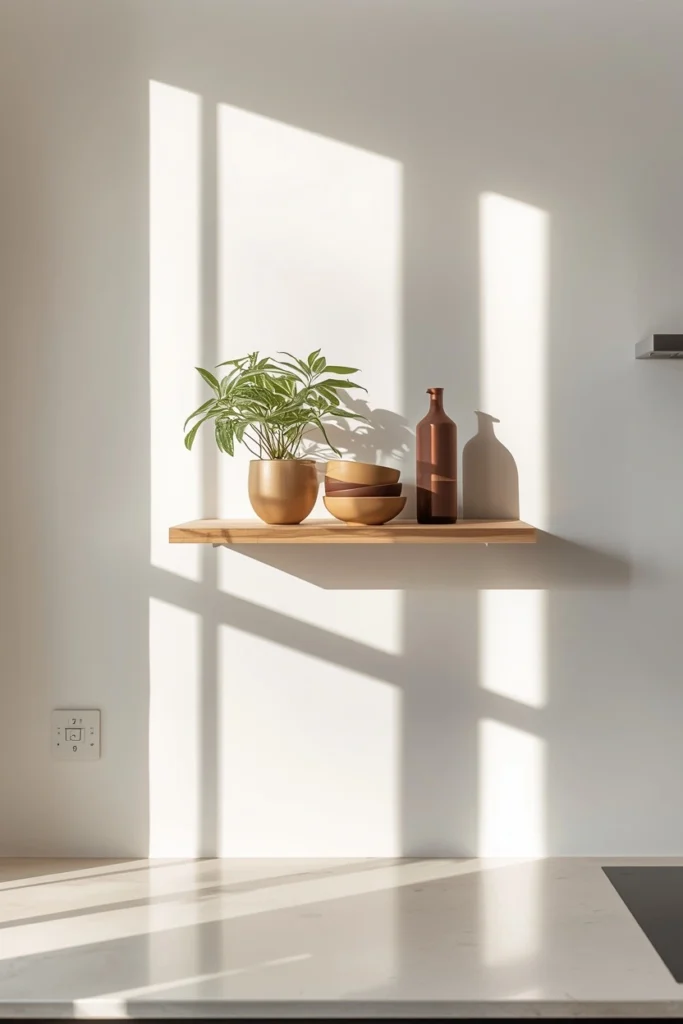
A single open wood shelf mounted above the counter holding three curated items — a plant, a stack of bowls, a small oil bottle — instead of a cluttered row of appliances below.
Design Breakdown
Designers often move visual weight up rather than out. A floating shelf gives your eye somewhere intentional to land, which makes the counter beneath it read as clean even if it’s holding a few practical items.
If you love this layered look, it pairs beautifully with the tips in our kitchen shelving ideas guide.
Expert Tip
Stick to odd numbers when styling a shelf — three items reads as curated, four often reads as cluttered.
Why It Works
This taps into a basic design principle: negative space. A shelf with breathing room between objects signals “organized,” while a packed shelf signals the opposite, even with fewer total items.
Best For
- Large spaces
- Luxury homes
- Budget makeovers
Common Mistake To Avoid
Overloading the shelf with everyday clutter defeats its purpose — it should hold curated items, not become a second junk drawer.
Quick Wins
- Style shelves in odd-numbered groupings
- Mix heights (tall vase, short bowl, medium plant)
- Leave at least 30% of the shelf empty
You May Also Like:
- Kitchen Shelving Ideas
- Modern Kitchen Island Ideas
- Coffee Bar Ideas
- Kitchen Lighting Ideas
- Apartment Organization Ideas
The Real Budget Breakdown of Counter Organization
This is where many homeowners make a mistake — they assume good counter organization means an expensive remodel. It doesn’t.
Let’s break down what actually moves the needle at every budget level, because this decision genuinely depends on your space, your habits, and how much you’re willing to invest.
Under $25 — The Starter Fixes
- Drawer dividers (bamboo or adjustable plastic): $10-20
- A “decide later” basket or tray: $8-15
- Command hooks for mugs or utensils: $6-12
These changes cost almost nothing but solve roughly 60% of everyday clutter, simply because they give loose items a home.
$25-$100 — The Middle Tier
- A 2-tier spice riser: $15-30
- A floating shelf kit: $25-50
- A small appliance caddy with a handle for easy hiding in a cabinet: $20-35
- A slim rolling cart for extra counter-adjacent storage: $40-90
This tier is where most people see the biggest visible transformation for the smallest investment. If you’re on a tight budget, start here before anything else.
$100-$400 — The Investment Tier
- A tambour-front appliance garage insert: $150-350
- Custom drawer organizers fitted to your exact cabinets: $80-200
- A butcher block rolling island for extra prep and storage: $150-400
$400+ — The Remodel-Level Tier
- A built-in appliance garage during a renovation: $500-1,500
- Custom pull-out cabinet organizers: $300-900 depending on cabinet count
Common Mistakes at Every Budget:
- Buying storage before decluttering (you’ll organize things you don’t even need)
- Choosing trendy bins that don’t match your actual counter depth
- Over-investing in a garage or shelf before fixing drawer chaos first, which is almost always the cheaper win
My honest take: if you only have $50 to spend, skip the pretty risers and put it all into drawer dividers and a decluttering pass. It’s the least Instagrammable fix, but it solves the most real estate.
What’s your biggest challenge right now — too little storage, or too much stuff? That answer changes which tier you should start with.
Idea #7: The Charging Station That Isn’t an Eyesore
What You’re Seeing
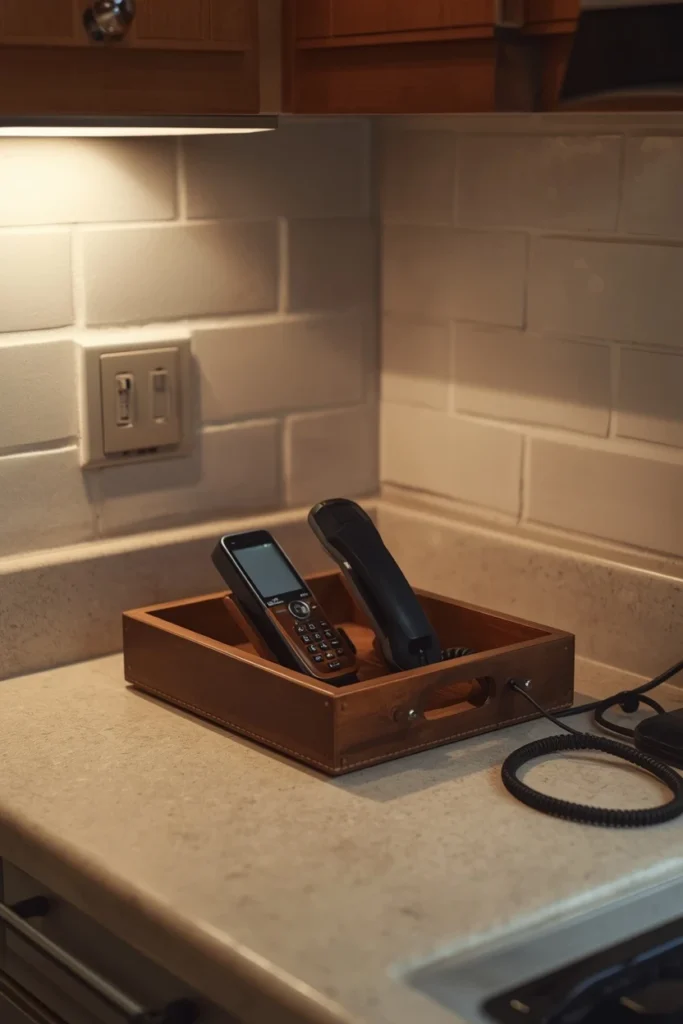
A small wood or leather tray tucked at the end of the counter holding two phones and a tablet, cords neatly channeled through a hidden slot in the back.
Design Breakdown
Cords are one of the sneakiest sources of visual clutter because they’re not “stuff” in the traditional sense — but they read as chaos anyway. Containing them in a single tray with a cord management clip instantly calms the whole area.
Expert Tip
Choose a tray with raised edges so phones don’t slide off when someone bumps the counter — a small detail, but it’s the difference between a station that stays tidy and one that scatters weekly.
Why It Works
This works because it isolates a chronic clutter source into one small, contained footprint instead of letting cords creep across the whole counter.
Visualize the difference: no more untangling three cords just to find your charger before you leave the house.
Best For
- Families
- Small spaces
- Renters
Common Mistake To Avoid
Placing the charging station too close to the sink or stove — heat and moisture shorten cord lifespan and it’s a common oversight.
Quick Wins
- Use a tray with a cord cutout in the back
- Keep the station near an underused outlet, not your main workspace
- Limit it to 2-3 devices max to avoid cord tangles
You May Also Like:
- Documents Organization Ideas
- Entryway Ideas
- Mudroom Entryway Ideas
- Home Office Ideas
- Space Saving Furniture Ideas
Idea #8: The Under-Cabinet Lighting Trick That Hides Clutter Instinctively
The following idea surprised me the most.
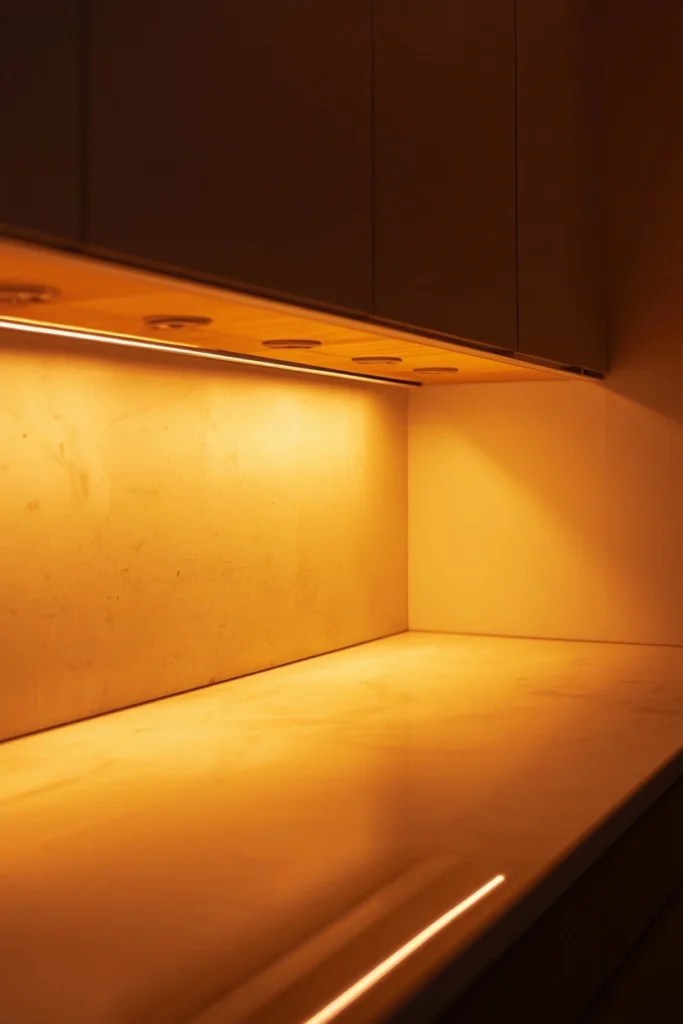
What You’re Seeing
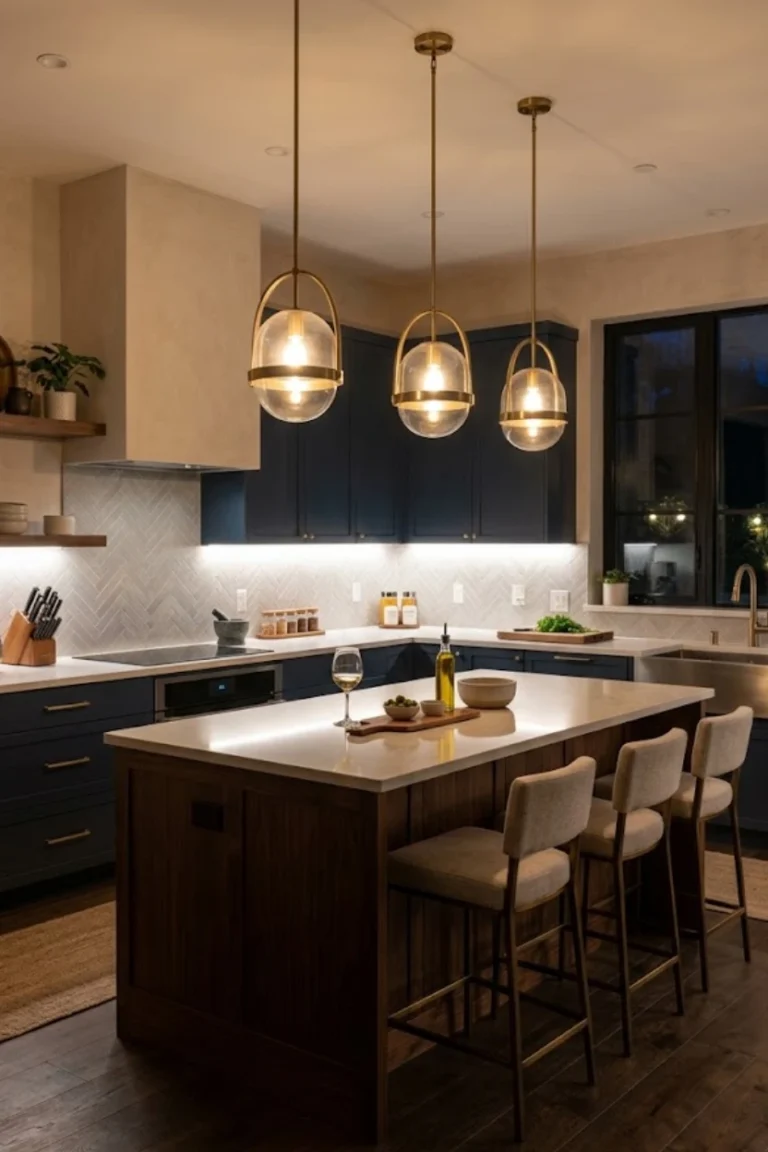
Warm LED strip lighting mounted under the upper cabinets, casting a soft glow across a clear counter, making even the natural stone pattern of the countertop the visual focal point instead of any objects sitting on it.
Design Breakdown
This one isn’t storage-related at all, but it changes behavior. Well-lit counters make clutter more noticeable in the moment, which — counterintuitively — makes people tidy up faster and more often, because mess is harder to visually ignore.
Expert Tip
Choose warm white (2700K-3000K) rather than cool white lighting; it makes the space feel intentional rather than clinical, which keeps you more motivated to maintain it.
Why It Works
Bright, flattering light draws attention to the counter as a feature, not a dumping ground. People subconsciously treat well-lit, well-styled spaces with more care than dim, cluttered ones.
Best For
- Luxury homes
- Large spaces
- Budget makeovers
Common Mistake To Avoid
Installing lighting too close to the cabinet edge creates glare instead of an even wash — center the strip slightly toward the back of the cabinet.
Quick Wins
- Choose warm white LED strips for a cozy, motivating glow
- Center lighting toward the back of the cabinet, not the front edge
- Pair with a clear counter for maximum visual impact
Most people don’t know this: under-cabinet lighting is one of the few upgrades that actually changes daily habits, not just appearance. Once a counter is well-lit, most people report tidying it faster simply because clutter becomes harder to ignore. It’s a small investment with a surprisingly large behavioral payoff.
This simple change can completely transform the room.
Idea #9: The Rotating “Display Only” Zone
What You’re Seeing
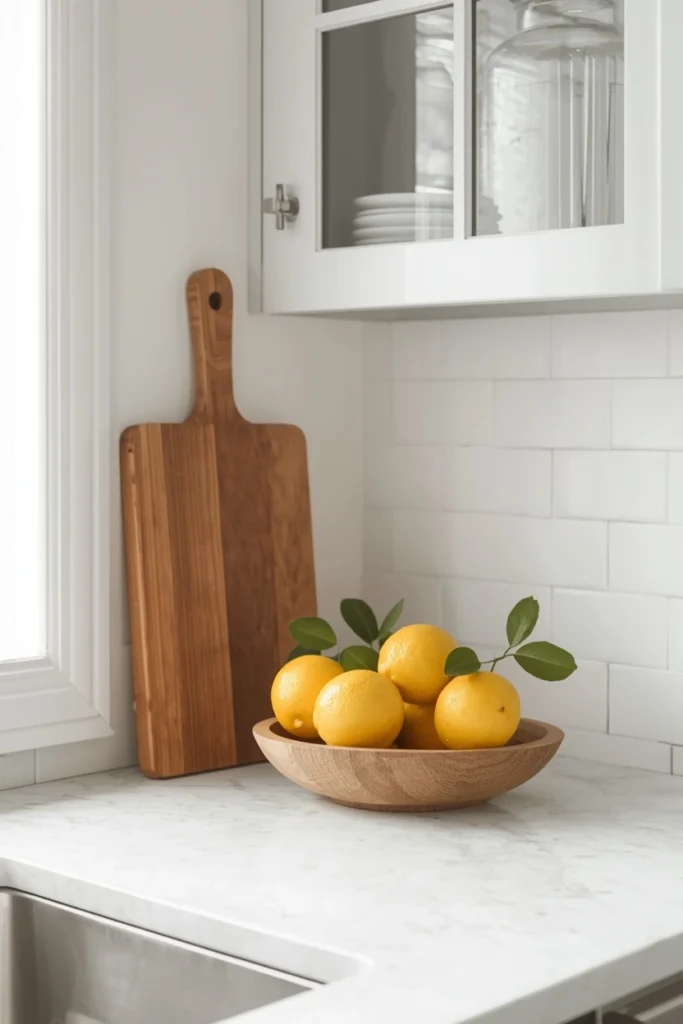
A small corner of counter reserved for a single seasonal item — a bowl of lemons in summer, a small pumpkin display in fall — swapped out every few months instead of a permanent collection of knick-knacks.
Design Breakdown
Instead of a fixed decorative display that quietly accumulates more items over time, this zone stays intentionally temporary. It scratches the decorating itch without becoming permanent clutter.
Expert Tip
Set a calendar reminder every season to swap this display — treating it as a ritual, not an afterthought, keeps it from becoming another static pile.
Why It Works
Rotating displays keep your kitchen feeling fresh without adding volume. Because the zone has a built-in expiration date, it never has the chance to grow into full-blown clutter.
Think about how much easier your kitchen will feel when even your “decorative” zone has boundaries.
Best For
- Large spaces
- Luxury homes
- Renters
Common Mistake To Avoid
Letting the seasonal display grow every time you refresh it — stick to one to three items, always.
Quick Wins
- Limit the display to 1-3 items per season
- Set a recurring reminder to rotate it
- Store off-season pieces in a labeled bin, not another cabinet shelf
Idea #10: The Weekly 5-Minute Reset
What You’re Seeing
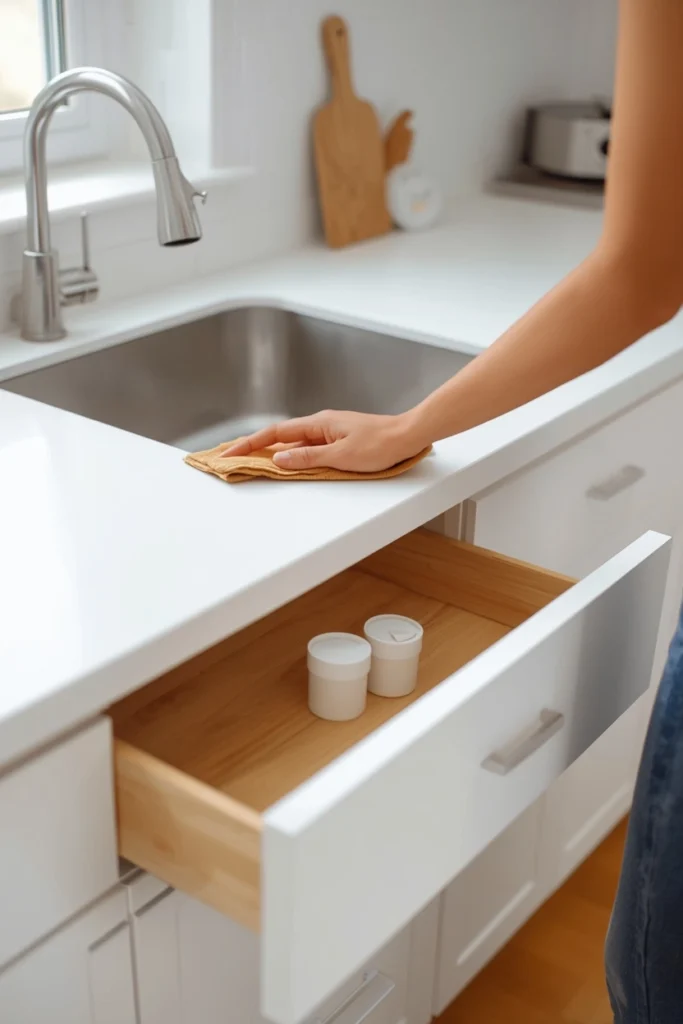
Someone wiping down a nearly-empty counter in under five minutes, sliding two stray items into a drawer, and stepping back to a completely clear surface — no big cleaning day required.
Design Breakdown
This is the maintenance habit that makes every other idea on this list actually last. Without a regular reset, even the best-organized kitchen slowly drifts back into clutter.
Expert Tip
Pair the reset with something you already do weekly — right before grocery shopping works well, since you’re clearing space for new items anyway.
Why It Works
Small, frequent maintenance prevents the kind of buildup that requires a full weekend decluttering project. Five minutes a week is genuinely enough once the systems above are in place.
Best For
- Families
- Renters
- Small spaces
- Budget makeovers
Common Mistake To Avoid
Waiting until the counter is fully overwhelmed to reset it. The whole point is catching clutter early, before it snowballs.
Quick Wins
- Set a weekly recurring reminder for your reset
- Pair it with an existing habit (grocery day, Sunday meal prep)
- Keep the reset under 5 minutes — if it’s longer, your systems need adjusting
Let me know which one is your favorite — I’d genuinely love to know which idea you’re trying first.
Related Kitchen Organization Ideas
Still in planning mode? These related guides are a great next stop if you’re building out your whole kitchen, not just the counters.
- Kitchen Pantry Ideas
- 8 Easy Steps to Organize a Small Kitchen Without a Pantry
- Small Kitchen Ideas
- Mini Kitchen Ideas
- Kitchen Trash Can Ideas
- 10 Useful IKEA Hacks to Keep Your Home Organized
- Hallway Linen Closet Organisation Ideas
- Modern Kitchen Ideas: Minimalist Luxury
Final Thoughts on Kitchen Counter Organization
Let’s recap what actually moves the needle. Zoning your counter by task, lifting items vertically, hiding daily appliances behind a garage door, and building in a weekly 5-minute reset are the four ideas that deliver the most visible change for the least effort.
You don’t need to tackle all 10 ideas this weekend. Pick just one — maybe the drawer divider swap, since it’s the cheapest and fastest — and implement it this week. Small, consistent changes are what actually stick, not overnight overhauls.
So, which idea are you starting with first?
If your clutter problem doesn’t stop at the counter, it might be worth looking at your apartment organization ideas next, especially if you’re working with a smaller footprint overall.
And if you’ve ever wondered why your garage ends up just as chaotic as your kitchen counter once was, our next guide on garage organization might be the most satisfying read you didn’t know you needed.
Frequently Asked Questions About Kitchen Counter Organization
1. What is the best way to start kitchen counter organization? Start by decluttering first, then sort what remains into zones based on how you actually use your kitchen. Skipping the decluttering step means you’re just organizing things you don’t need.
2. How do I keep my kitchen counters clutter-free permanently? Combine a “one in, one out” rule with a weekly 5-minute reset. Systems only stick when there’s a regular maintenance habit attached to them.
3. What should never be left on the kitchen counter? Mail, rarely-used small appliances, and loose cords are the biggest offenders. These items usually have a better home in a drawer, tray, or designated basket.
4. Are appliance garages worth the investment? Yes, especially if you use several small appliances weekly but don’t want them visible full-time. Even a budget tambour-front insert can solve the problem without a full remodel.
5. What’s the cheapest way to organize kitchen counters? Drawer dividers and a small “decide later” basket, both under $20 combined, solve a surprising amount of everyday counter clutter.
6. How many items should I keep on my kitchen counter? There’s no universal number, but most well-organized kitchens keep it to essentials only — think a fruit bowl, a coffee station, and maybe one small plant or decorative piece.
7. Does counter organization really affect stress levels? Yes. Visual clutter has been linked to increased mental fatigue and stress, even when you’re not directly focused on it, which is part of why a clear counter feels so calming.
8. What’s the best material for counter storage trays and risers? Bamboo and acacia wood are popular for their durability and warm look, while acrylic risers work well in brighter, more modern kitchens.
9. Should renters invest in permanent counter storage solutions? Stick to non-permanent options like risers, trays, and drawer dividers. These solve the same problems as built-ins without requiring landlord approval or renovation.
10. How often should I do a full counter declutter? A deep declutter once or twice a year is usually enough if you’re maintaining a weekly 5-minute reset in between. Without that habit, plan on decluttering more frequently.