DIY Cedar Planter Box Under $5
This article was created in line with Trends Oraa’s research and content standards.
Ever dreamed of adding a touch of green to your balcony or backyard without blowing your budget? 🌱 Well, guess what—I’ve got a little secret for you: you can make a DIY Cedar Planter Box under $5. Yep, you read that right. No, this isn’t some magic trick or sketchy Pinterest hack. I’ve actually done it myself, and I’m here to walk you through every step, share tips, and even sprinkle in some DIY wisdom along the way.
I remember the first time I tried making my own planter box. I was staring at a stack of cedar planks, thinking, “This is either going to be Pinterest-worthy or a total fail…” 😂 But after a couple of hours (and a tiny bit of sanding frustration), I ended up with a beautiful, durable cedar planter that still holds strong today. And the best part? My wallet barely even noticed. So, let’s dive in and get your hands a little dirty, shall we?
Why Choose a Cedar Planter Box?
Before we jump into the DIY madness, let’s chat about why cedar is the way to go. Trust me, this isn’t just about looks.
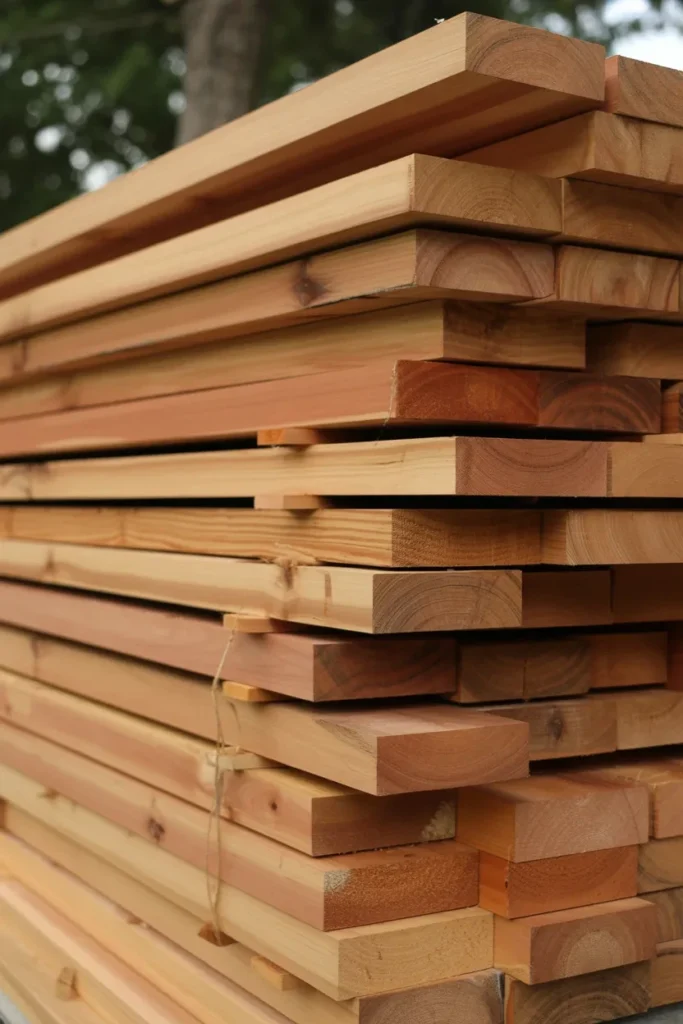
Durability Meets Style
Cedar is naturally resistant to rot, insects, and weather damage, making it perfect for outdoor gardening. You don’t have to worry about your planter box falling apart after a rainy week. Plus, cedar has that gorgeous reddish tone and aromatic smell that adds character to your garden. Honestly, FYI, the smell alone makes spending time in the garden way more enjoyable.
Budget-Friendly and Lightweight
Even though cedar sounds fancy, small planks are surprisingly affordable. And because it’s lightweight, you can move your planter box around without turning it into a workout session. IMO, it’s like having style and function all in one.
Materials You’ll Need
Alright, now that you’re sold on cedar, let’s talk shopping list. Don’t worry—this is where the “under $5” magic happens.
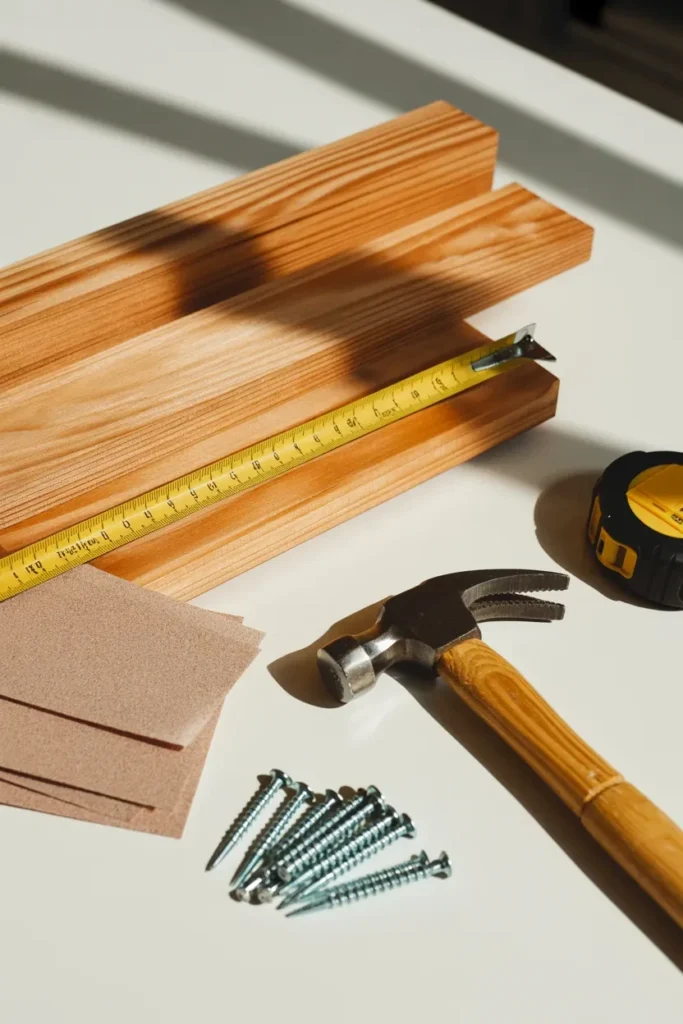
Essential Materials
- Cedar planks (small size, like 1×6 inches) – these usually cost around $2–$3 for a small piece.
- Wood screws or nails – a small pack is perfect, and you likely already have some at home.
- Sandpaper – smooths out rough edges (so you don’t get splinters, ouch).
- Optional: Wood sealant or varnish (for extra protection, but not required if you’re short on budget).
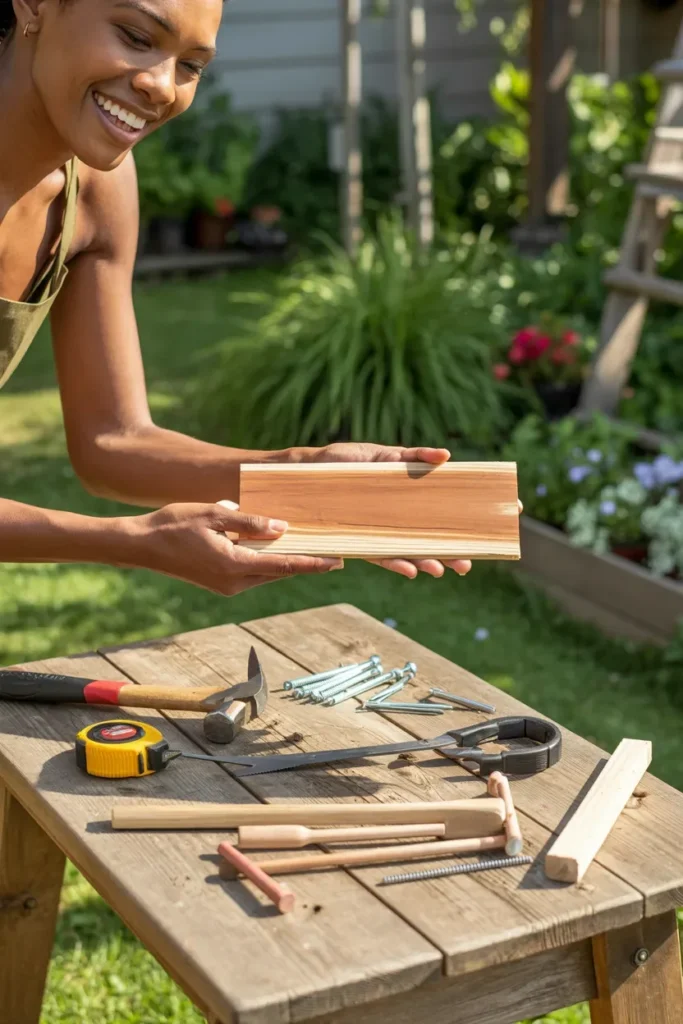
Tools You’ll Use
- Saw (hand saw works fine)
- Drill or hammer
- Measuring tape
- Pencil for marking
Pro tip: don’t skip the measuring step—trust me, crooked planters are a whole vibe we don’t want. 😅
Step-By-Step: Building Your Cedar Planter Box
Ready to get your hands dirty? Let’s build this thing like pros, step by step.
Step 1 – Measure and Cut
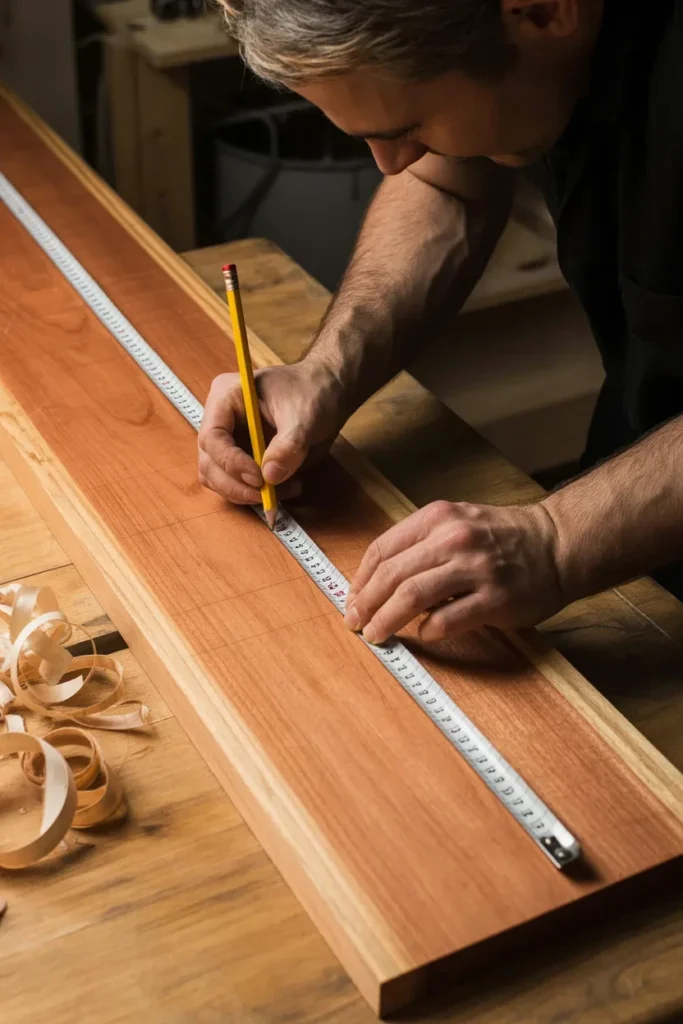
- Decide your planter box size. A common beginner-friendly size is 12”x12”x12”.
- Mark your cedar planks accordingly with a pencil.
- Cut carefully along the lines. Remember, precision is key! One wobbly plank can mess up the whole project.
Step 2 – Sanding
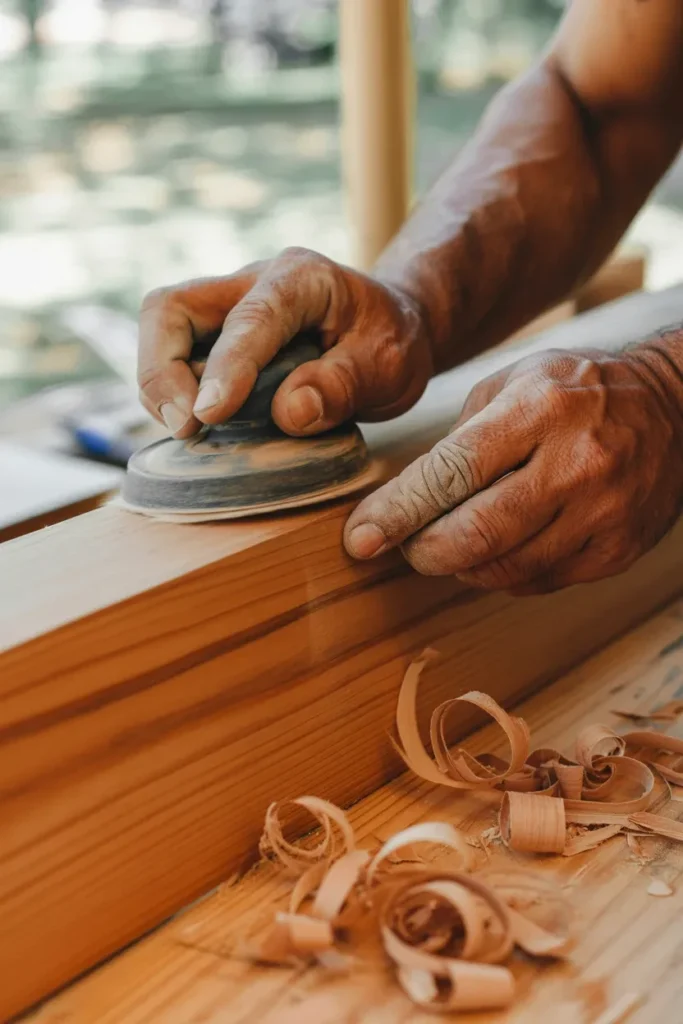
- Sand all edges and surfaces to remove splinters.
- FYI, sanding isn’t glamorous, but it makes your box safer and more polished.
- Bonus: it also helps the wood absorb moisture better.
Step 3 – Assemble the Sides
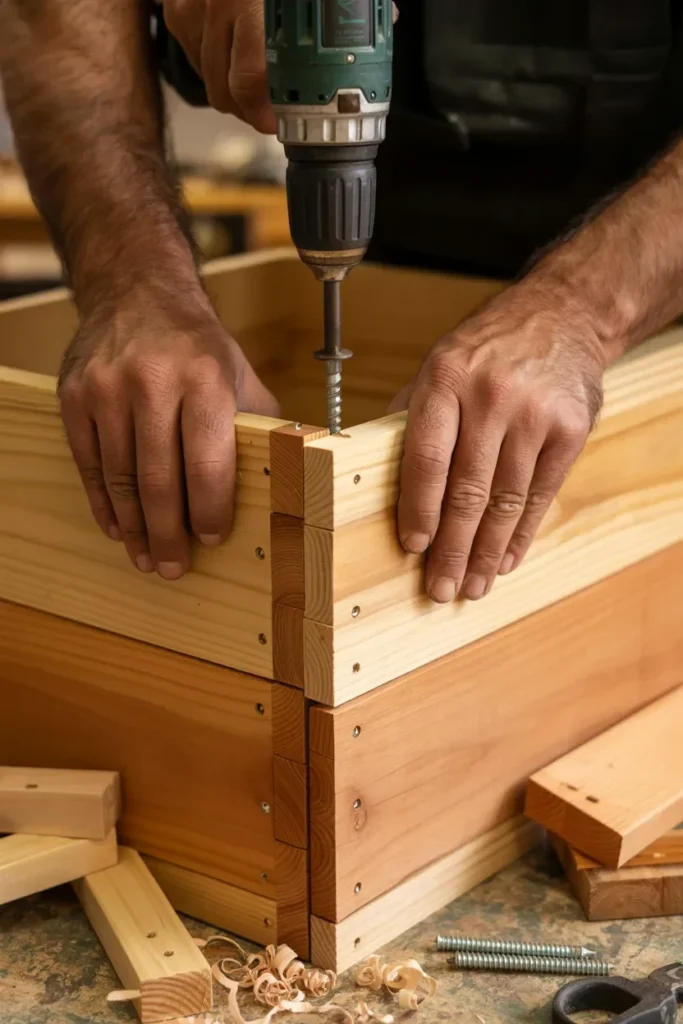
- Arrange four planks into a square.
- Drill screws or hammer nails at the corners to secure them.
- Quick tip: pre-drill holes if you’re using screws—it prevents the wood from splitting.
Step 4 – Attach the Bottom
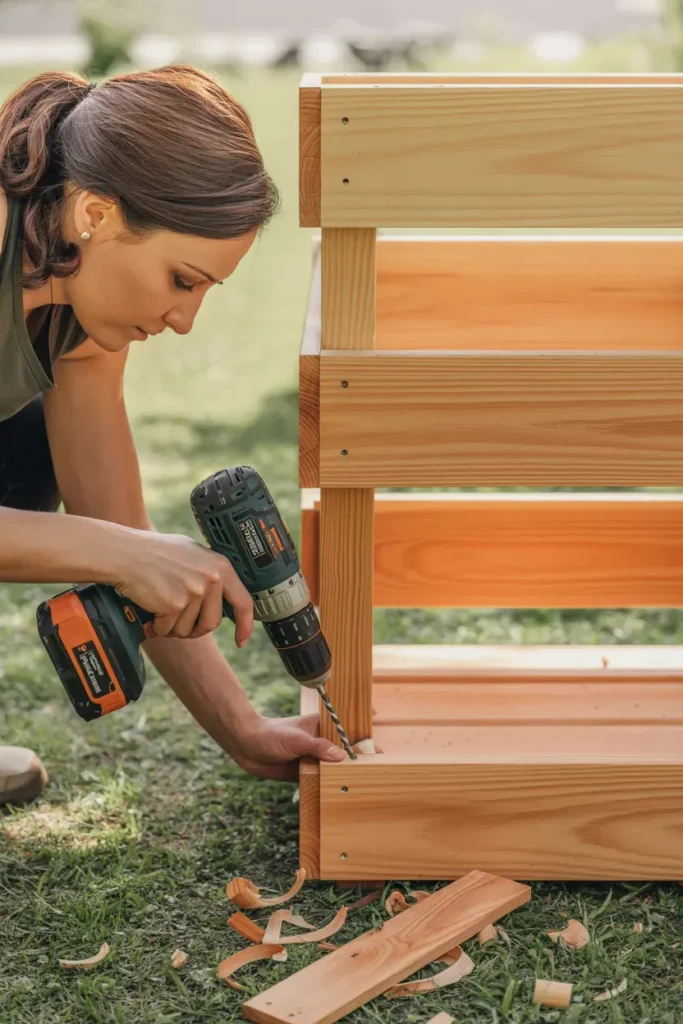
- Use a few extra planks or a single piece for the bottom.
- Secure with screws or nails.
- Make sure the bottom is flush with the sides for stability.
Step 5 – Optional Finishing Touch
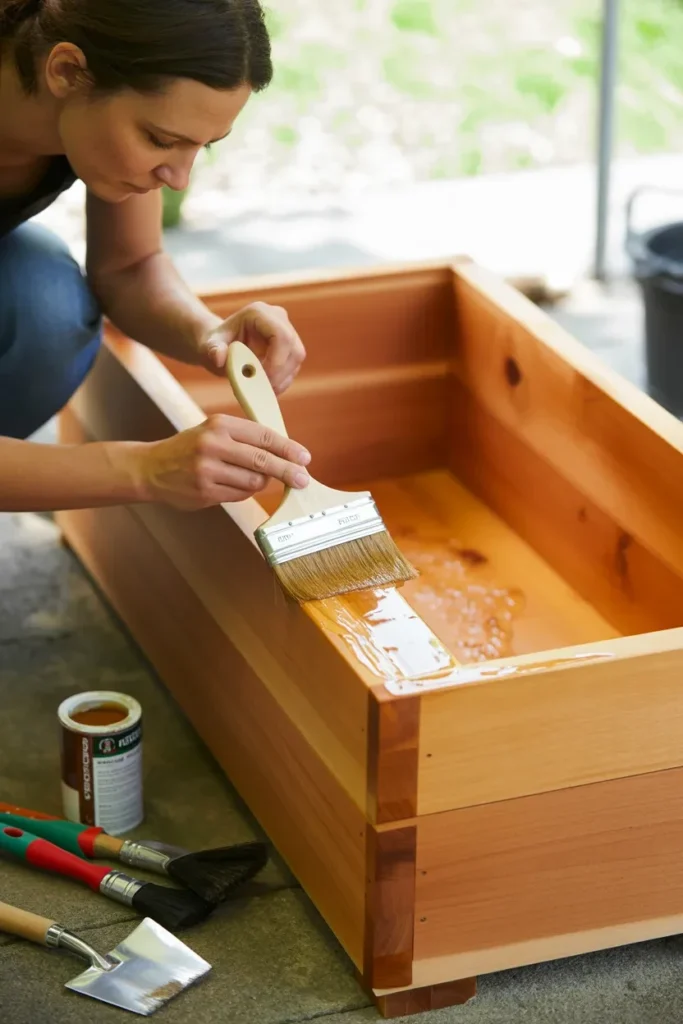
- Seal or varnish your planter box if you want longer-lasting protection.
- You can also paint or stain it for a fun pop of color—personal style counts! 🎨
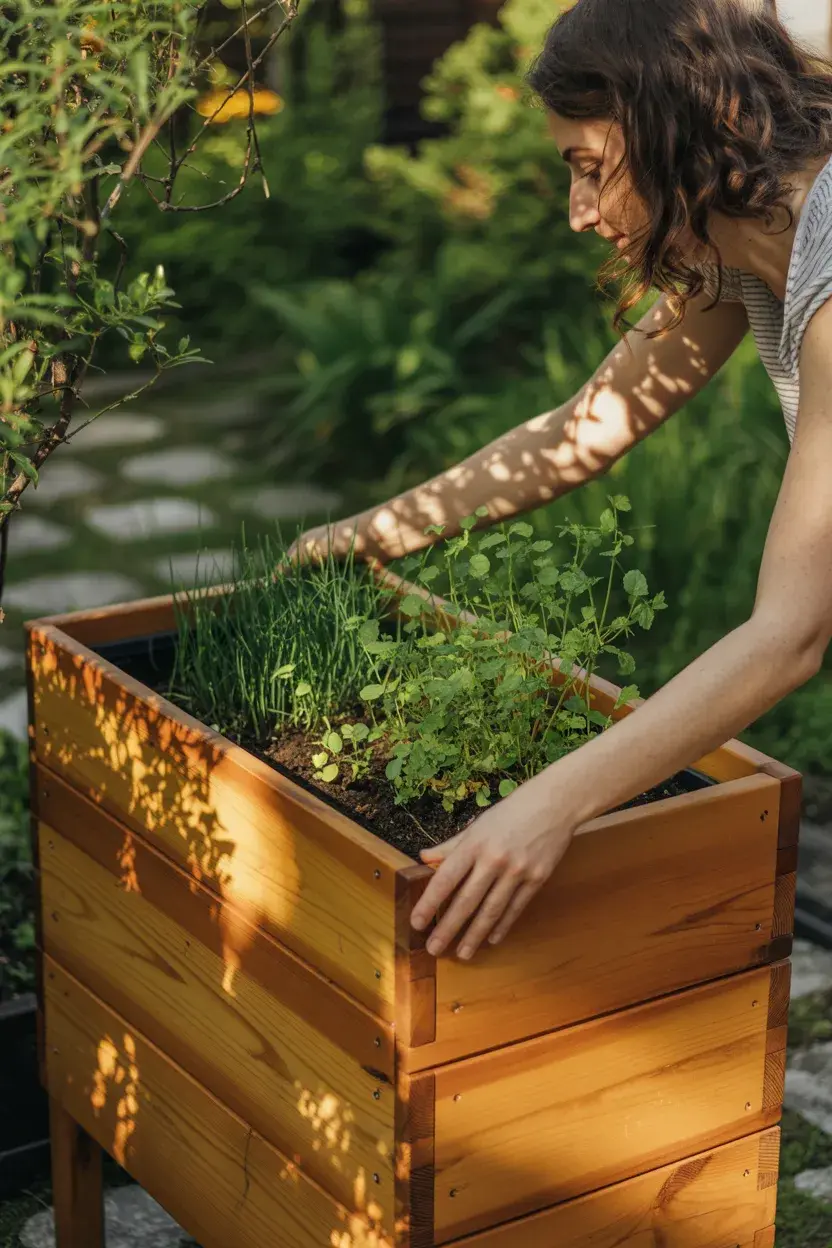
Planting Time! What to Grow in Your Cedar Box
Now for the fun part: picking what goes inside. A cedar planter box is super versatile.
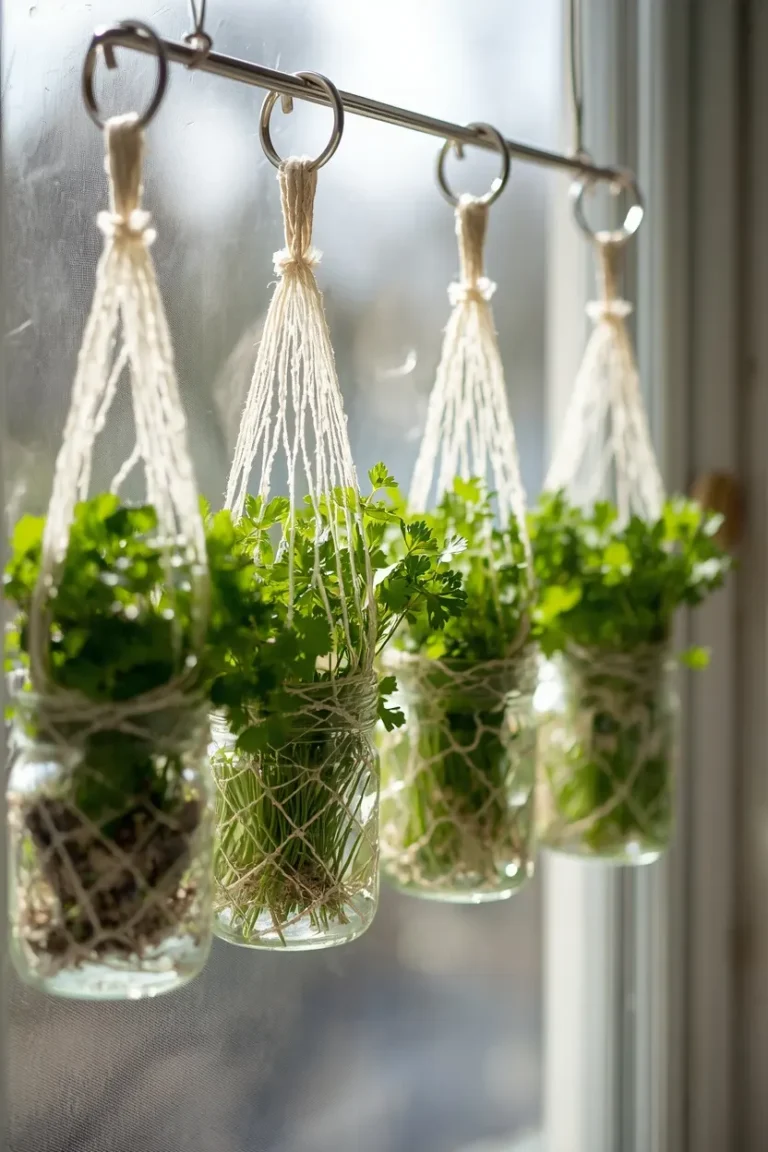
Herbs Galore
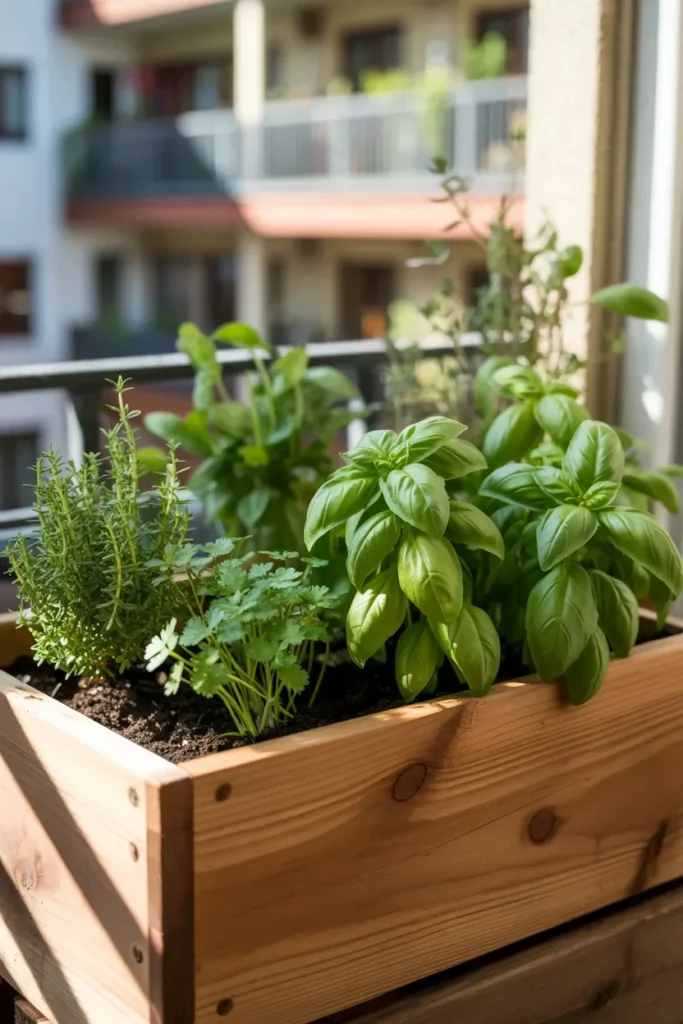
- Basil, mint, parsley, or thyme
- Great for your kitchen adventures, and they smell amazing!
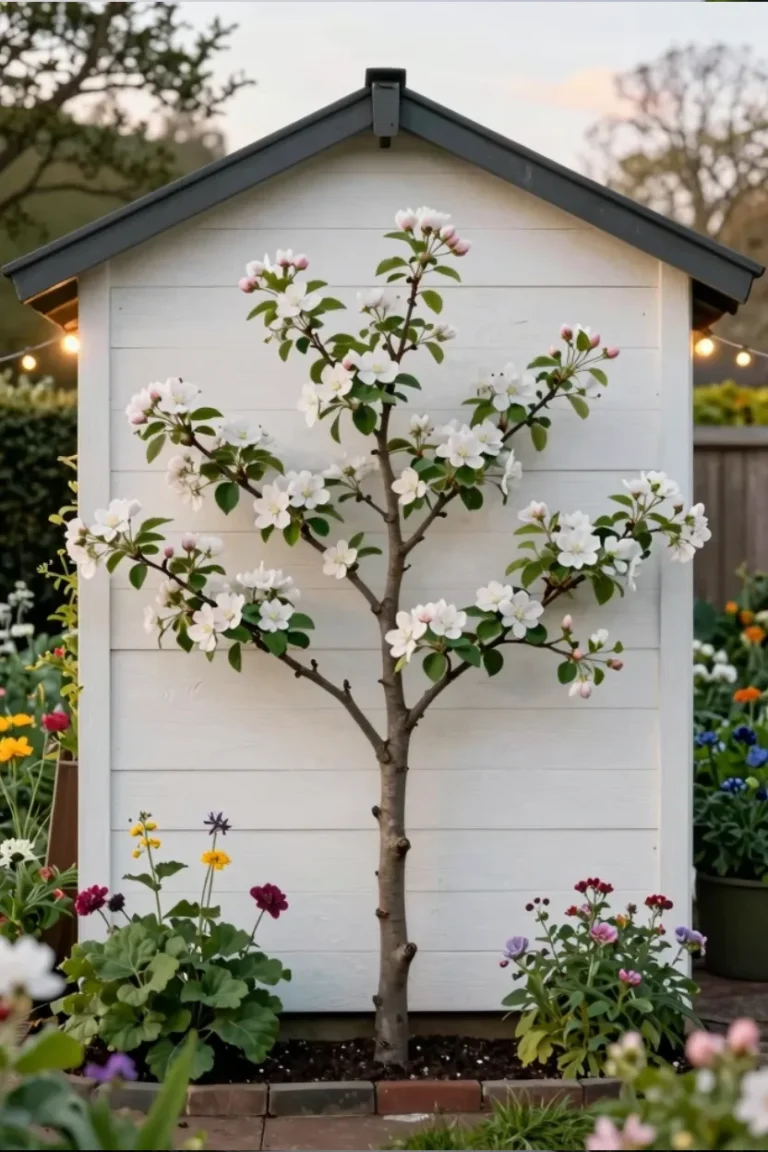
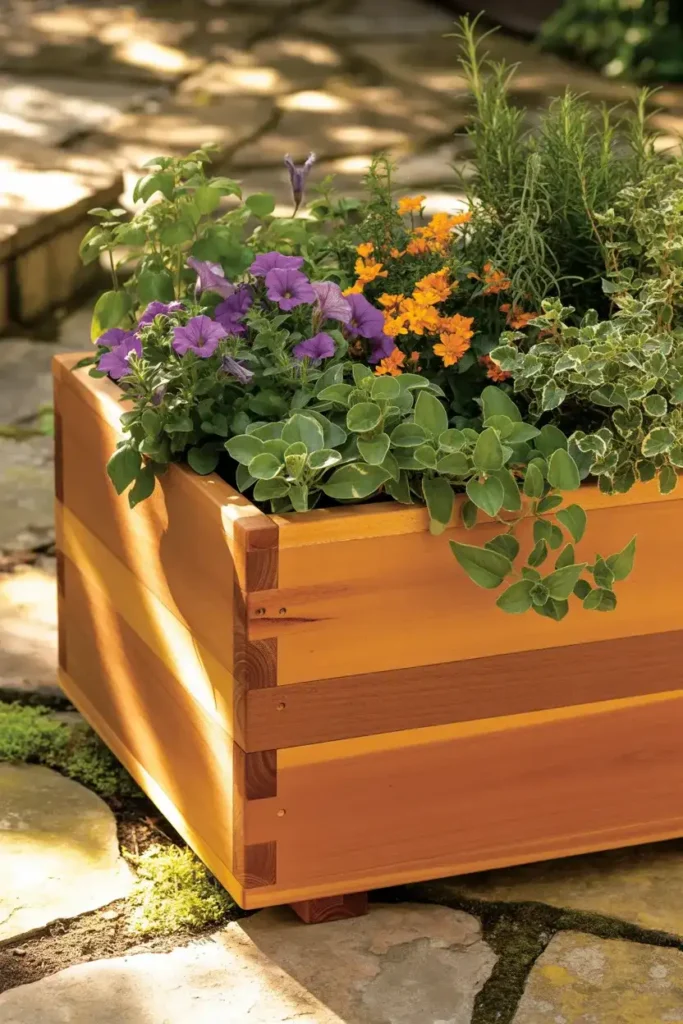
Flowers That Pop
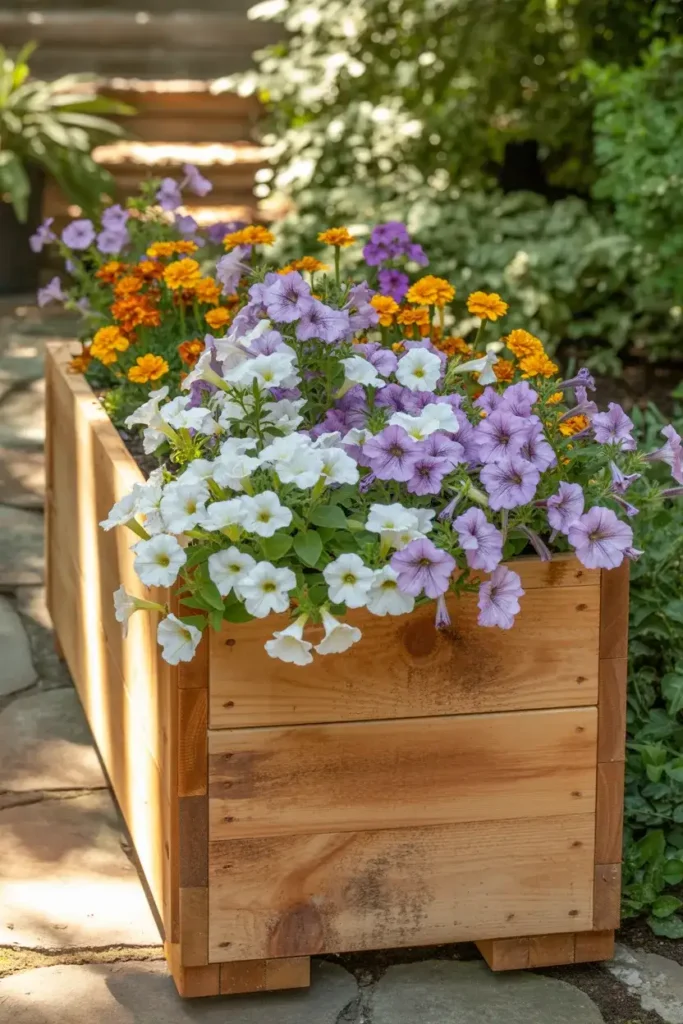
- Petunias, marigolds, or pansies
- Bright colors instantly lift your garden vibes.
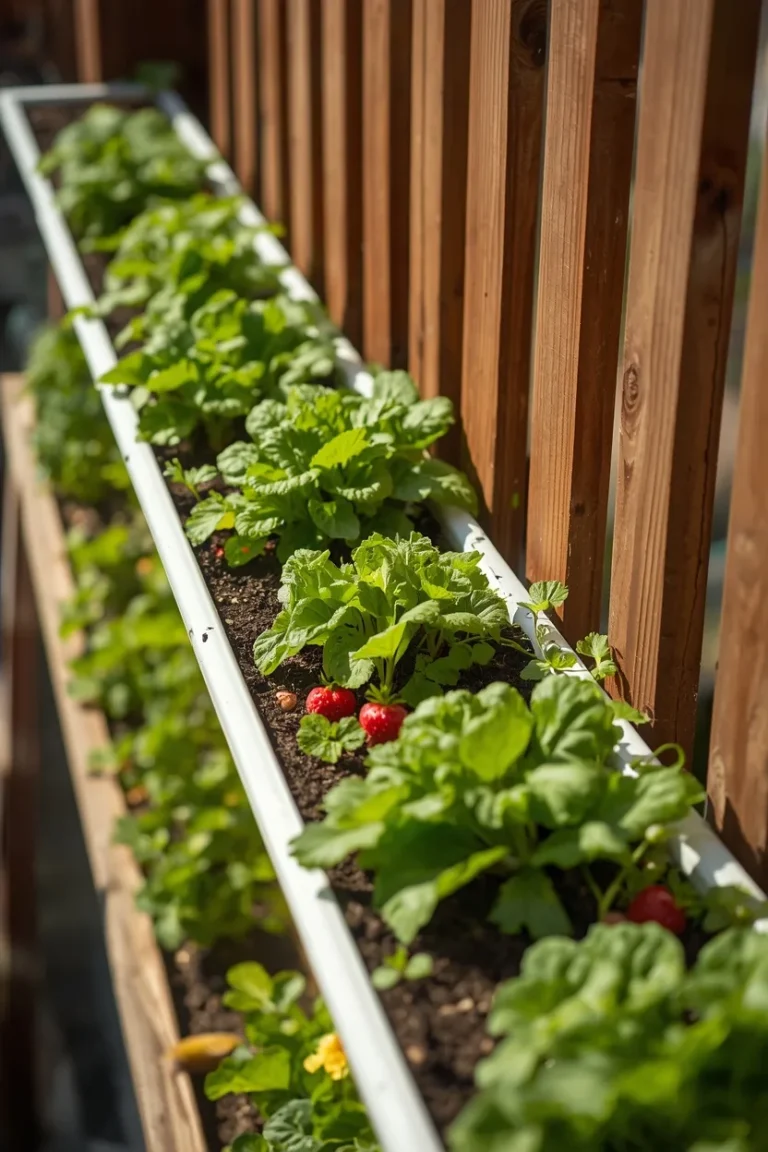
Veggie Patch
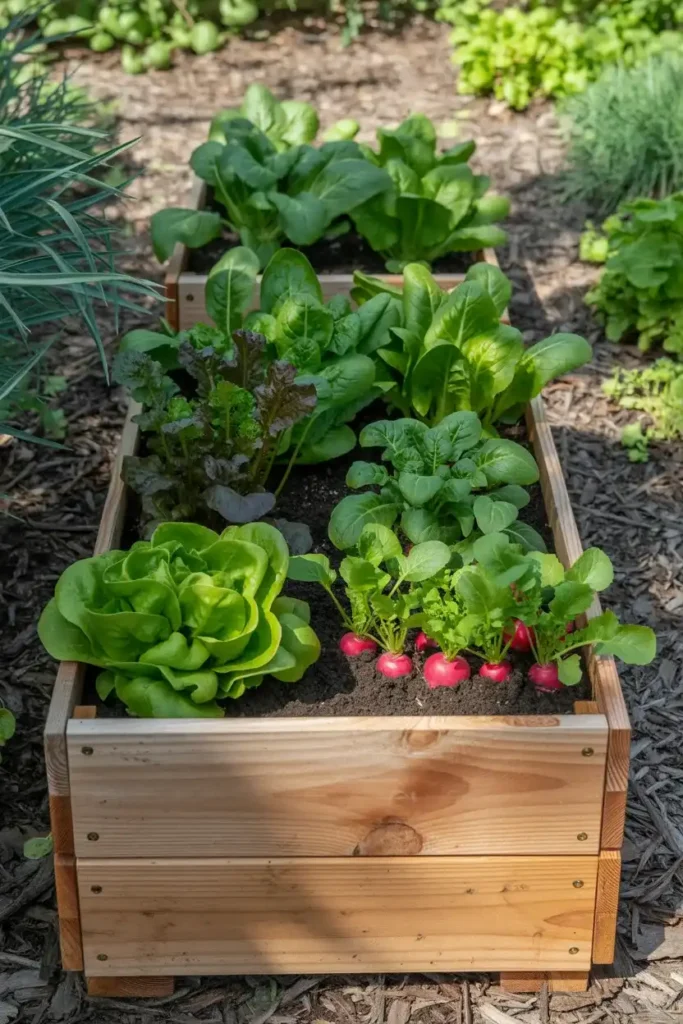
- Lettuce, spinach, or radishes
- Small-scale, manageable, and perfect for fresh salads.
Pro tip: make sure your box has good drainage. Drill a few holes in the bottom to prevent waterlogging—your plants will thank you.
Maintenance Tips for Long-Lasting Cedar Planter Boxes
You don’t just build it and forget it—some care goes a long way.

Keep It Clean
- Wipe down dirt and debris regularly.
- Remove old leaves and dead plants to prevent decay.
Rotate or Move
- Cedar is lightweight, so don’t hesitate to move it around for optimal sunlight.
- This keeps your plants happy and growing strong.
Seasonal Check-Up
- Inspect for cracks or wear once a season.
- A quick sanding or touch-up coat of sealant keeps it looking fresh.
Benefits of DIY Over Store-Bought Planters
Why DIY instead of just buying a planter? Let me break it down.
Cost Savings
- You’re literally building a planter box under $5.
- Compare that to store prices—some pre-made planters cost $20–$50 for a similar size.
Personal Touch
- Nothing beats the satisfaction of building something with your own hands.
- Plus, you can customize the size, color, and design exactly how you want.
Eco-Friendly
- Using small leftover cedar planks reduces waste.
- DIY projects like this are perfect for sustainable living, FYI.
Common Mistakes to Avoid
Don’t worry—I’ve made these mistakes so you don’t have to.
- Skipping sanding → leads to splinters and rough edges.
- Not measuring twice → one crooked cut can ruin symmetry.
- Overloading the box → remember, cedar is strong but light; don’t overstuff with heavy soil or big plants.
Trust me, avoiding these keeps your DIY project stress-free and enjoyable. 🙂
Final Thoughts
Building a DIY Cedar Planter Box under $5 isn’t just possible—it’s rewarding, fun, and surprisingly easy. You get durability, style, and a personal touch for your garden all while saving money.
So, grab some cedar, dust off your saw, and start building. Whether you’re planting herbs for your kitchen, colorful flowers, or a small veggie patch, this little box has the power to transform your garden space. And honestly? Nothing beats the pride of saying, “I built this myself.” 😎
Remember: keep it simple, measure carefully, and don’t forget to enjoy the process. After all, the journey is just as fun as the finished planter!
Happy building, my fellow garden enthusiast! 🌿